- Post Edit Your Photos
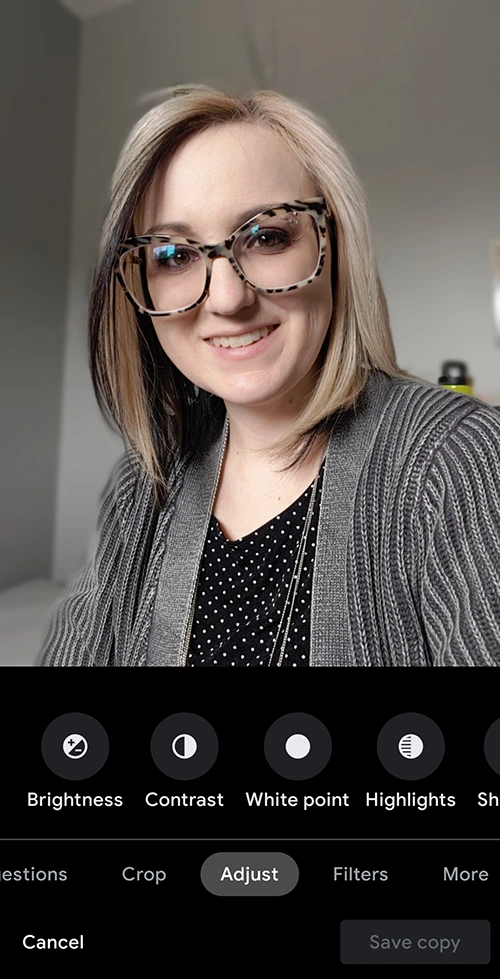
Whether you download an editing app like Lightroom, or you use the editing features built into your phone gallery or social media app, post editing (editing color, contrast etc.) can help give your photos a more polished look. To achieve your desired look, try adjusting the contrast, brightness, warmth etc. of the image rather than using a pre-created filter. And then be consistent as you go forward so your pictures have a similar feel.
- Make sure Live Mode is off
If you’re an iPhone user, make sure Live Mode is off before taking a photo, UNLESS you intend to post this type of content. Live Mode is a feature on iPhones that will make a 3 second video with sound when you think you are taking a still photo. Taking a photo this way could lead to posting unwanted material and sometimes you may not be able to upload at all to your social media of choice because of the file type. Some platforms may post the Live Photo as an image, but quality could be low, as well, since it is actually a video.
- Clean your camera lens and make sure your fingers are clear of the lens!
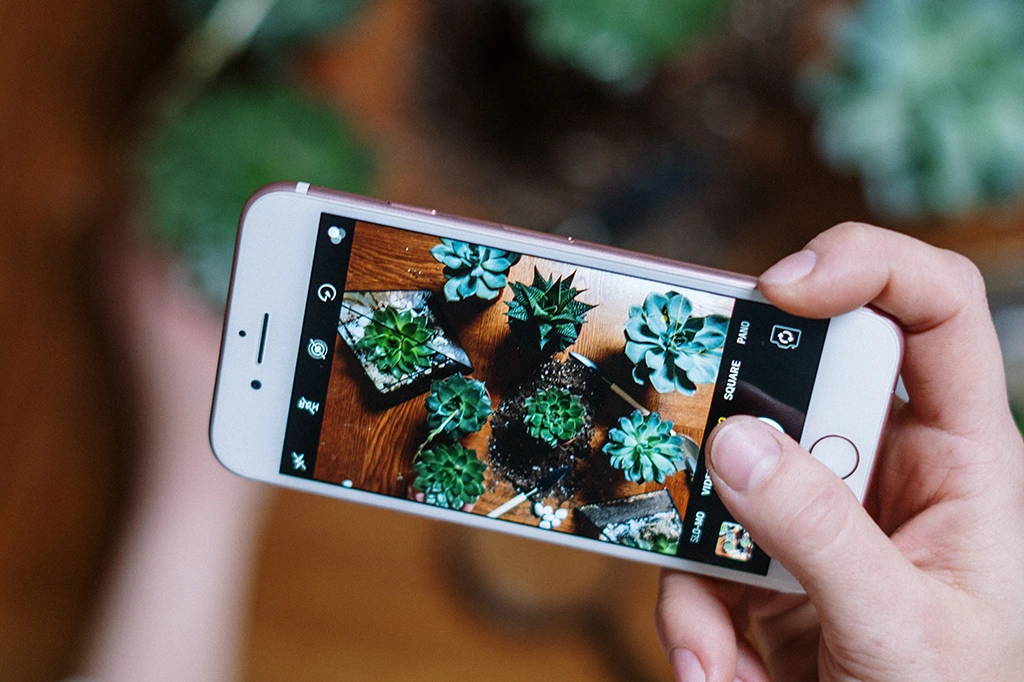
This seems fairly simple, but dust, dirt and smudges from touching your phone throughout the day can cause your image quality to suffer. Smudges can cause your subject to appear as though they are glowing, while dirt and dust could turn your photo into an alleged UFO sighting, adding an “Unidentified Fuzzy Object” to your photo. Also, make sure you know where the lens is on your phone so you can hold it in a way that your fingers don’t end up in the picture!
- If you have portrait or studio mode on your phone, use them!
Portrait and studio modes on a phone can be super helpful.You know those photos you see where the subject it clear, but the background is blurred? That’s called depth of field and is usually only achieved with a high-quality camera and the right settings. However, this can easily be done with portrait mode if your phone has it. It can be used for selfies, photos of employees or even objects, like products you sell. This will add a splash of professionalism to your photos.If your phone has studio mode, you can use this mode when taking photos of a person to adjust the lighting in the photo before taking the picture and also, to replace the background of a photo with a solid color, blocking out an undesired background.
- Make sure light is behind the camera, not the subject – but beware of shadows.
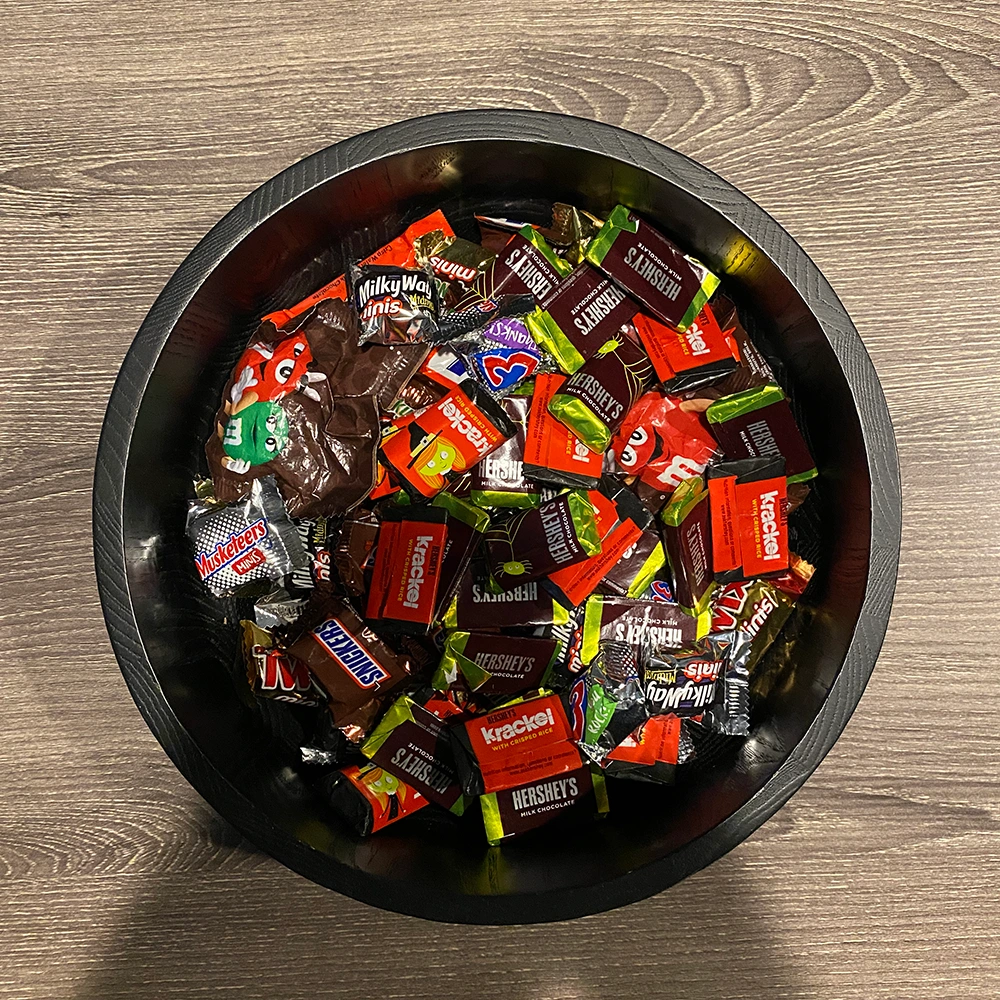
This is a photo (and video!) no brainer, the light should be in front of your subject not behind. Photos with light behind your subject will make your subject appear dark and the background bright, which is the opposite of what you want. Making sure your light source is behind the camera taking the photo will ensure that your subject is bright. However, beware of creating unwanted shadows in your photo of you taking the picture! Situations where you may have overhead lighting and are trying to take a photo straight down, maybe of a plate of food, could be particularly problematic. Make sure you are not directly below a light but between a few lights which should help with any major shadows.
- Don’t be afraid to take more than one picture.
We’ve all heard the old saying “If at first you don’t succeed, try, try again” right? Well, that is the case here as well. Even if it’s something small, taking your time and making sure you have a truly good photo for your post can make a lot of difference. Especially when done in conjunction with our other tips!
Hopefully you’ll find these tips to be useful and you’ll soon be “wow-ing” your social media follows with stellar imagery. The best thing you can do to get better is just to start and work out the kinks from there.
If this info was helpful, you might also like: Google Usage Rights Tool


